2023.09.14

Refs: The manual setup in this zip file

I want to be able to execute normal python files (not with .pyx or need compiling) during development and yet to be able to distribute it in binary.

The structure of the files:

setup.py
src/
  __init__.py
  example.py
  hellow/
    __init__.py
    hellow.py

The content of example.py

import hellow.hellow as hellow

if __name__ == '__main__':
    hellow.hellow()

The content of hellow.py

def hellow():
    print("hellow from cython")

We can go to the root folder of the project and python src/example.py to run. We can then build the hellow module as .so files.

The content of setup.py

from distutils.core import setup
from distutils.extension import Extension
from Cython.Distutils import build_ext

ext_modules = [
    Extension("src.hellow.hellow", ["src/hellow/hellow.py"], include_dirs=['.'])
]

setup(
  name='workingCythonMultiPackageProject',
  cmdclass={'build_ext': build_ext},
  ext_modules=ext_modules,
  script_args=['build_ext'],
  options={'build_ext':{'inplace':True, 'force':True}}
)

Run with python setup.py. It will produce a .c file and compile it to be .so file. The files will be put in the same folder as the .pyfile, ie.:

setup.py
src/
  __init__.py
  example.py
  hellow/
    __init__.py
    hellow.py
    hellow.c
    hellow.cpython-39-darwin.so

Now, if we want to distribute this .so files, we can just copy it into the python’s lib folder. I’m using pyenv here, so I’m copying it into the ~/.pyenv/versions/3.9.14/lib/python3.9 folder

hellow/
  hellow.cpython-39-darwin.so

We can then copy the example.py elsewhere and run it without having the hellow folder in the same directory! Oh this is much simpler than I thought.

For the cherry on top, we can also binarize the example.py

cd src
cython example.py --embed # Creates example.c
PYTHONLIBVER=python$(python3 -c 'import sys; print(".".join(map(str, sys.version_info[:2])))')$(python3-config --abiflags)
gcc -Os $(python3-config --includes) example.c -o example $(python3-config --ldflags) -l$PYTHONLIBVER # creates example binary

The resulting example binary file can also be run from any folder.

2023.05.21

In order for your app to be installable in iOS device, it needs provisioning, some kind of validating that the app comes from where it says, something like https certificate, to my understanding. There are different types of provisioning (ref):

  • (Free) Expires in one week
  • (Paid) TestFlight expires 90 days
  • (Paid) ad-hoc expires in one year max
2022.12.07

A project we’re working on uses react-native-iap for in app purchase. The version used for previous release was 5.4.1. But when I tried setting up the testing for payment, it hangs and won’t show the payment dialog. Worse, in newer android even if you kill the app something is still loading and it won’t respond and you have to reinstall the app (Might be due to some other factor though).

Upon inspection, the initialization was okay but getSubscriptions hangs and doesn’t return at all. Google search suggest updating it to version 9.0.0 solves it. I tried but it had Amazon error and I thought I had to use lower versions, but lower versions without the above error still hangs. Apparently the fix for it is to add this line in build.gradle. It finally shows the payment dialog!

I guess the reason why the previous version doesn’t work is because for new submissions to play store, I have to update the play store billing to version 4.

That took half day to solve.

Versioning problem is very annoying since most of the time the error message doesn’t tell you any useful details. Upgrading package version also often breaks stuff so once I set up a project, I swear by the package-lock.json. I don’t know how other projects manage with just doing npm install all the time since non major version change also breaks stuff.

I’m still not used to App development so I’m not really sure how Android manage the package versioning. Just last month I had to do long debugging only to find out that the gradle downloads new version by itself, specifying the version fixes it.

I know that keeping on using old version is not a good idea since outer world changes and the package will eventually have to be updated. And the thought of having to do that just dreads me out.

2022.05.11

Some notes on the research that I found out about Apple Developer Account.

  • Anyone can use their Apple ID for a free Apple Developer Account
  • This allow debugging/installing the app on iOS device by connecting it with USB to the Mac with the XCode
  • Push Notifications require a paid account, ie. ADP (Apple Development Program) membership
  • Paid developer account can share access from apple store connect website
    • It needs to be an Organization account to be able to give access to certificates
    • Individual account cannot do this
  • It is a convention that the owner of the app has the paid account even though they are not the one who develop it
    • The developer’s Apple ID then gets added into their account given certain permissions so that they can develop and release the app
    • The owner has to be the one who adds the apple ID though
  • An Apple ID can be a user in multiple Apple Developer Account

More References regarding Apple Developer Accounts

2021.12.12

On Macbook Pro 2016 (Mac OS Catalina), Board is ESP32 Pico Kit

  1. Download Arduino IDE, I used 1.8.16
  2. Install CP210x VCP Mac OSX Driver
    • It will ask you to allow the driver in Security & Privacy
  3. Even before restarting I had the /dev/cu.SLAB_USBtoUART folder. I ended up restarting though.
  4. Open Arduino IDE
  5. Arduino -> Preferences -> Additional Board Manager URLs, set it to https://dl.espressif.com/dl/package_esp32_index.json
  6. Tools -> Board -> Boards Manager, search for ESP32 and click Install (I installed version 1.0.6)
  7. Tools -> Board -> ESP32 Arduino -> ESP32 Pico Kit, also select the appropriate Upload Speed (115200) and Port (/dev/cu.SLAB_USBtoUART)

  8. Test a hello world program

     void setup() {
       Serial.begin(115200);
     }
        
     void loop() {
       Serial.println("Hello World");
       delay(2000);
     }
    
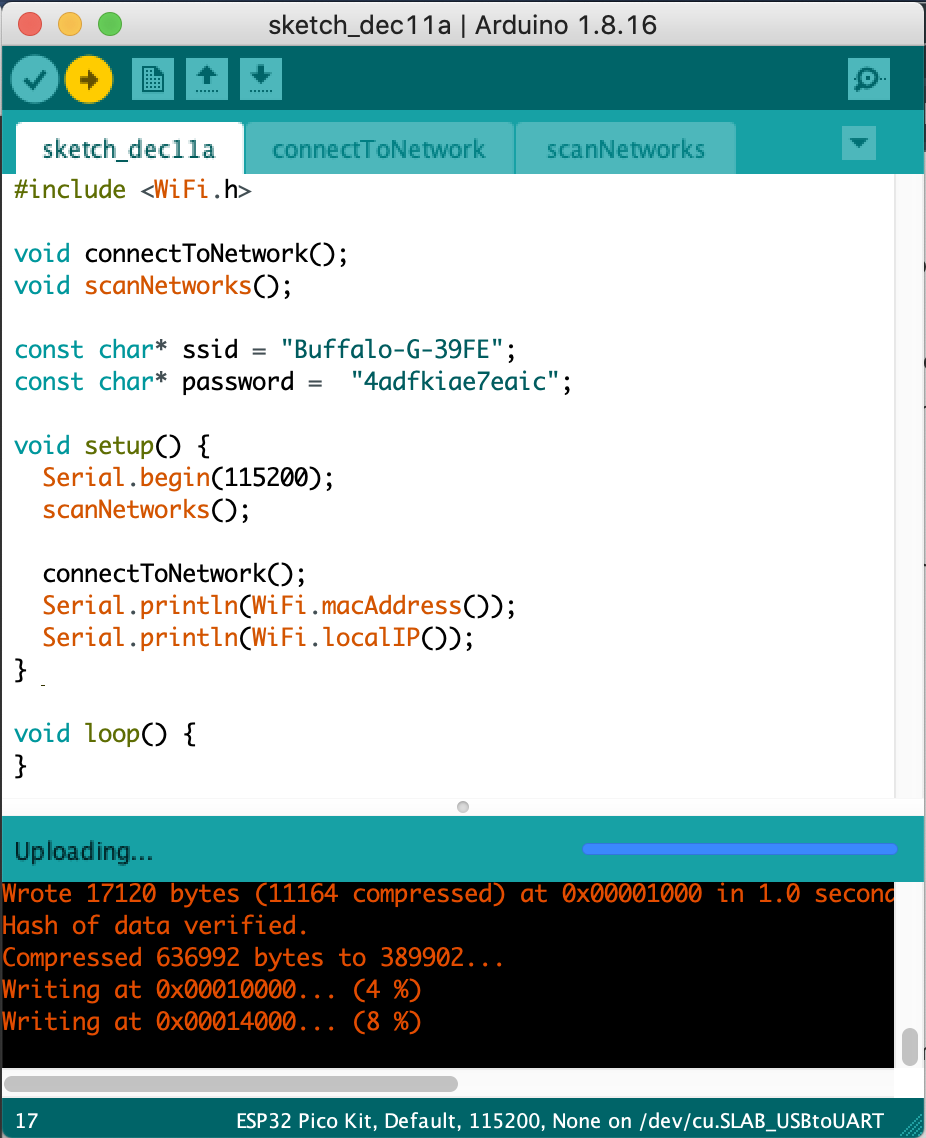
  9. Click on the top second from left icon (right arrow) to upload to ESP32. The black screen below will show how many percent has been written.
  10. (This took me awhile to figure out) To see the “Hello World”, click on the top right magnifier icon, or Tools -> Serial Monitor, select the Baud Rate to 115200.

Using multiple files

Arduino Sketch is a folder, by default saved in ~/Documents/Arduino/sketch_<date>. (I’m not really sure how it knows which is the main file, maybe by the setup() and loop() name)

We can create a function in another file in the same folder, with extension name .ino. Then write the function definition at the top of where we have the setup() and loop() file. It will automatically compile the file in the same folder and find the function definition.

Editing the files on Emacs will not automatically update the opened files in the IDE, but if we close the window and open it with File -> Sketchbook, it will automatically open all files inside the sketch folder.

Next thing to learn